Quickstart
NFT.Storage is designed to enable the long-term preservation of NFT data in the decentralized, verifiable Filecoin Network, charging only a small one-time fee. By storing in the Filecoin Network, we strive to ensure that your NFTs are accessible, safeguarding your digital assets without recurring costs.
Our unique approach is designed for longevity through an on-chain endowment, specifically dedicated to covering Filecoin storage costs. This endowment will be managed by smart contracts on the Filecoin Ethereum Virtual Machine, designed to create transparency, trustlessness, and financial sustainability, thereby aiming to ensure your NFTs are protected for the long term.
NFT.Storage is designed with user convenience in mind. Minting platforms can easily integrate, allowing creators to effortlessly store their NFTs. We aim to make the transition to long term storage as straightforward as possible, empowering creators and platforms with easy-to-use tools and services.
In the future we’ll also provide marketplaces with an API to showcase which NFTs utilize NFT.Storage for long term preservation. This builds consumer trust by enabling buyers to identify NFTs that are securely stored and verifiable.
Getting Started
Ready to get started using NFT.Storage right now? Get up and running in minutes by following this quickstart guide. In this guide, we'll walk through the following steps:
Creating an Account
For this guide, you'll need an NFT.Storage account to get your API token and manage your stored data. You can sign up for free using your GitHub.
- Github
- Visit the NFT.Storage website.
- Click "Log in with GitHub" option.
- You will be redirected to GitHub for authentication.
- Log in to your GitHub account if prompted.
- Authorize NFT.Storage to access your GitHub account.
- You will be redirected back to NFT.Storage upon successful authentication.
Buy Some Storage
After logging in to your NFT.Storage account, you'll need to purchase storage before you can upload tokens. Here's how you can do it:
- Click on the "Get more storage" option in the dashboard navigation menu.
- Enter the amount of storage you want to buy.
- Click on the "Pay Now" button to initiate the payment process.
- Follow the prompts to complete the transaction securely. You may be required to enter payment details and confirm the purchase.
- With your storage successfully purchased, you can now proceed to upload tokens to NFT.Storage without any restrictions.
By following these steps, you can easily purchase storage and start utilizing NFT.Storage to store and manage your NFT tokens effectively.
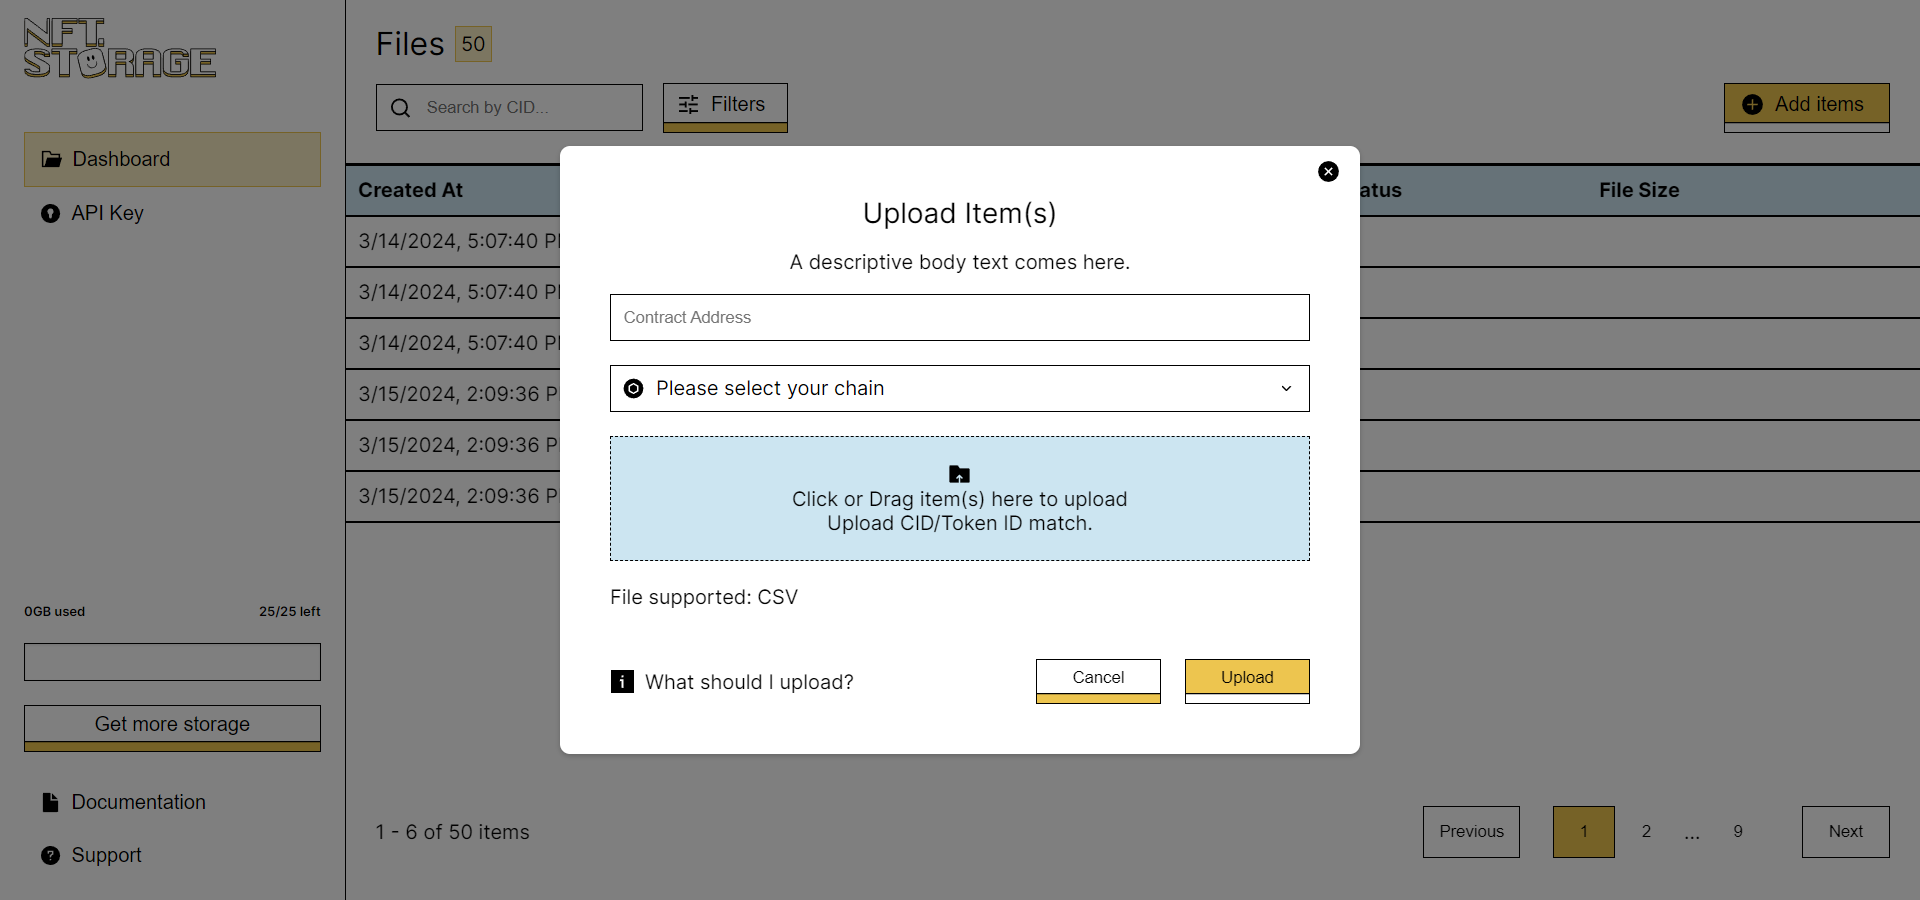
Uploading Tokens via the Website
Once you've logged in and purchased storage, you can easily upload tokens via the NFT.Storage dashboard. Here's how:
- Click on the Dashboard option in the navigation menu.
- Look for the Add Items section within the dashboard.
- Fill in the smart contract address and select the chain on which contract is deployed.
- Click or drag-and-drop CSV or JSON file directly into the designated area.
- Ensure your CSV file follows the specified structure:
-
Each row represents a token.
-
The CSV file should include columns for token ID and content ID (cid).
-
Example structure:
tokenID, cid
1, bafy...
2, bafz...
3, bafx...
- For JSON format, ensure your data follows this structure:
[
  {"cid":"content_id_1", "tokenID":"token_id_1"},
  {"cid":"content_id_2", "tokenID":"token_id_2"},
  {"cid":"content_id_3", "tokenID":"token_id_3"},
  ...
]
Replace content_id_X with the Content ID (cid) of each token's content and token_id_X with the corresponding Token ID. Each entry in the JSON array represents a token, with keys "cid" and "tokenID" indicating the cid and tokenID respectively.
- Once you've selected the files and provided necessary information, initiate the upload process by clicking on Upload
Once the upload is complete, you'll be able to view your file in the dashboard